Regular Zipper Tutorial
The easiest zipper insertion you can do! Regular zip is widely used in constructing skirts & dresses, like our 1950s circle skirt pattern. It only requires basic sewing skills and patience.
1. Start by serging or zig-zagging the raw edges of the centre edge of each piece individually.
2. Match the centre edges together, pin at the notches first to ensure the correct alignment.
3. Measure 22 centimetres down the centre edges from the top edge, notch or mark a line.
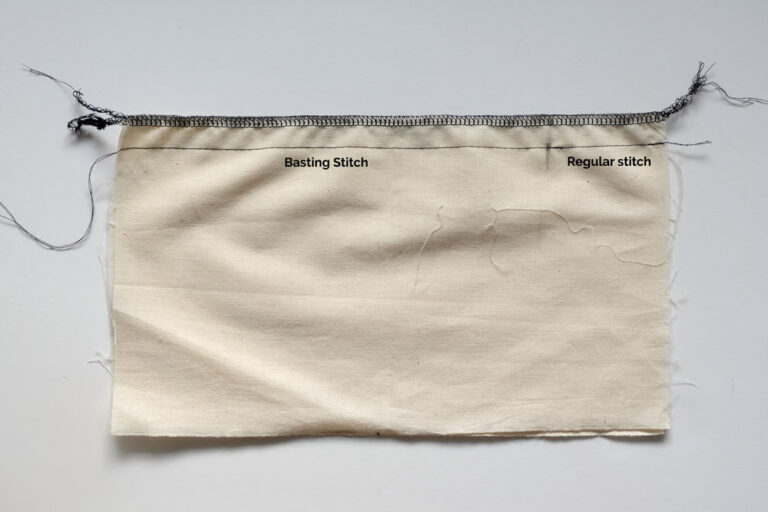
4. Now you are ready to sew! Starting from the top edge, the first 22 cm you will use a basting stitch, once you reach your notch or marking, switch your stitch length back to a regular 2.5 cm or 3 cm, remember to backstitch at the beginning of this stitch and at the end. Use a seam allowance of 1.5 centimetre for this type of zipper insertion.
5. Press the seams open.
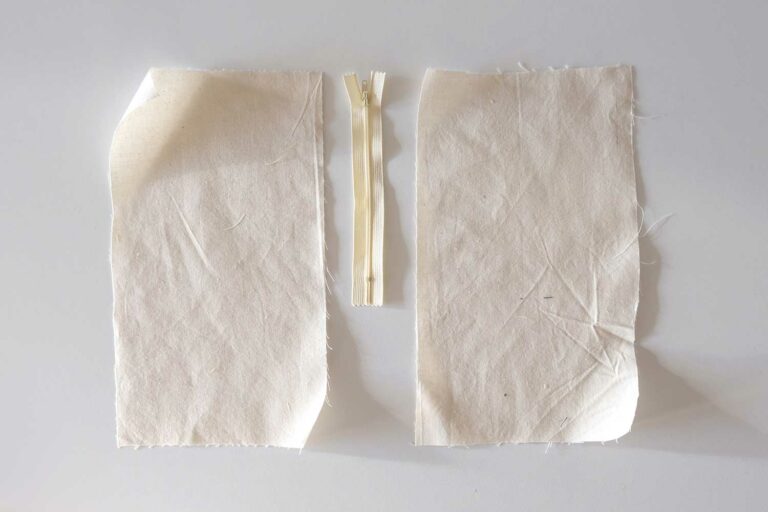
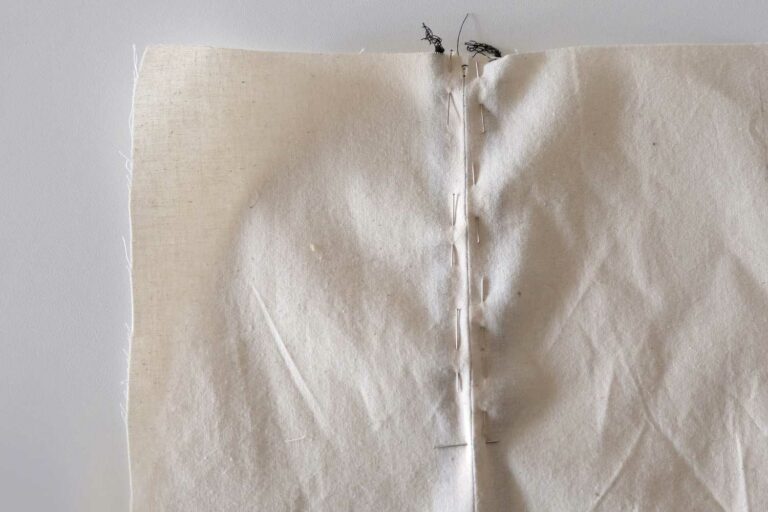
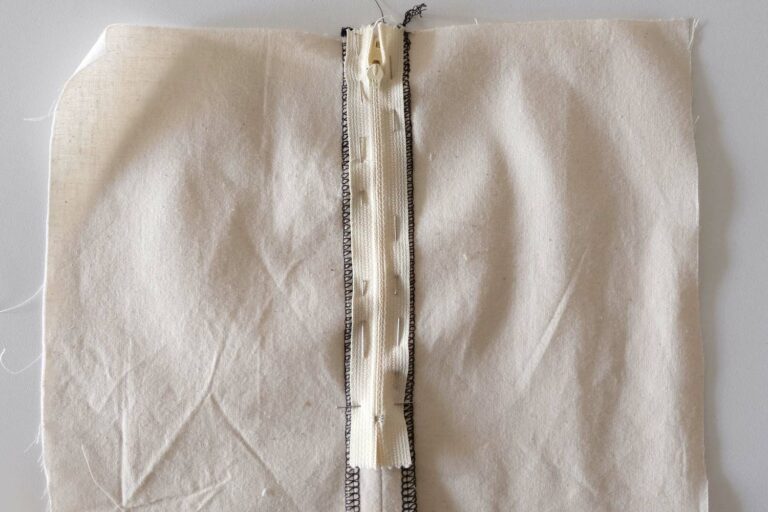
6. With the wrong side of the fabric facing you, place your zipper with the pull tab facing down, align the top of the zipper tape with the top edge of the fabric. Pin in place.
7. Now turn over with the right side of the fabric facing you, slowly pin in place while removing the pins from the wrong side. Using this method will save the zipper from moving around and ensure it is placed exactly within the seam allowance.
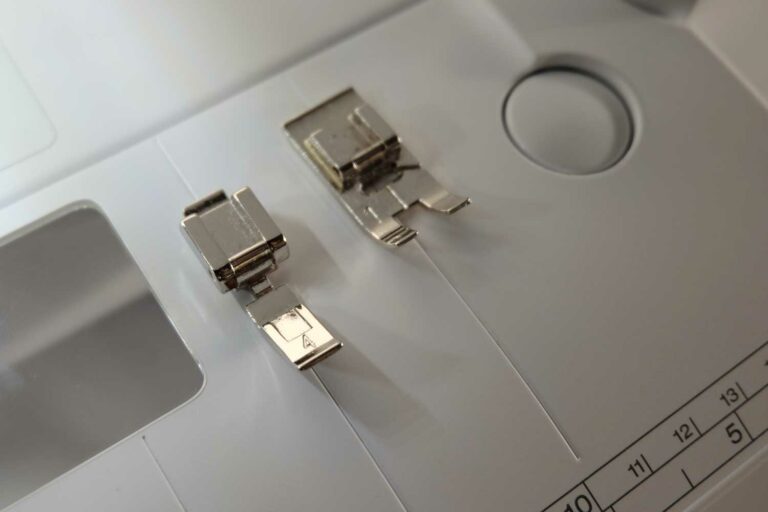
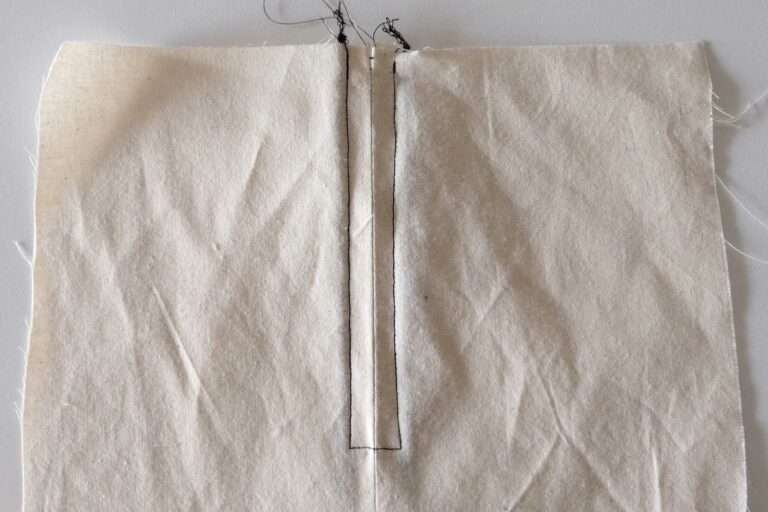
8. Switch to a zipper foot. Sew a stitch 1 centimetre away from the centre seam, remember to pivot before you reach the zipper stopper (or risk breaking your needle!) before coming up the other side of the zipper.
*Tip: Use a washable ink or chalk to mark where your stitch should land to help with straight lines and to indicate pivot points.
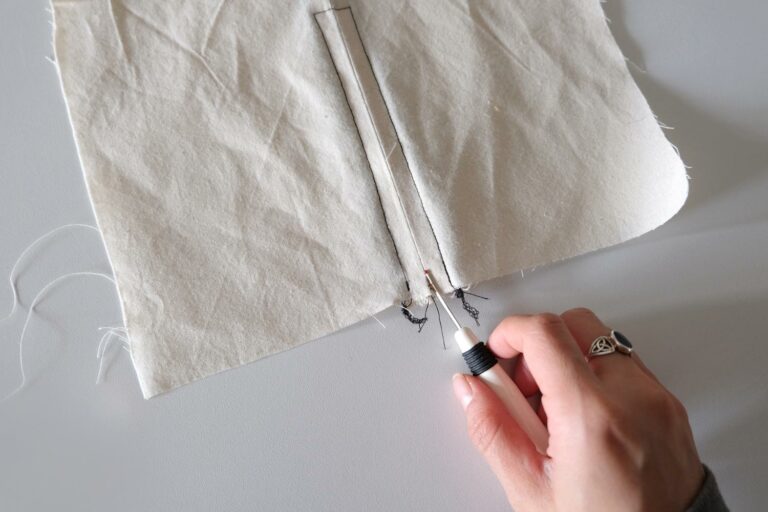
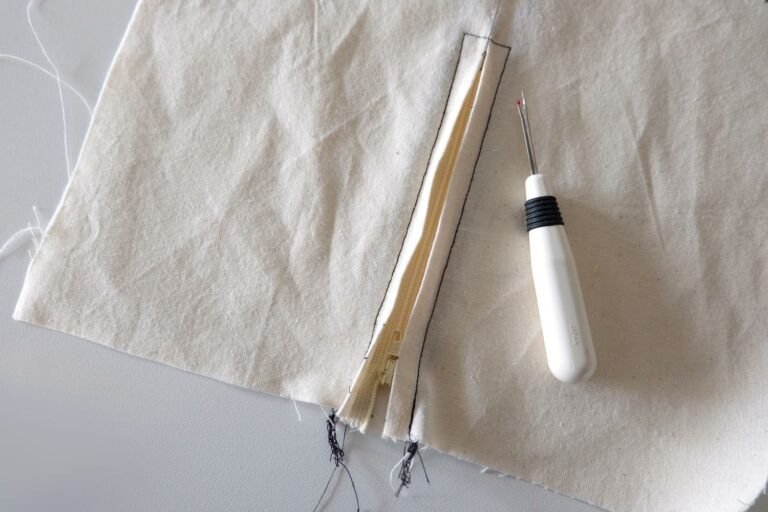
9. Take a seam ripper and unpick the basting stitch to allow your zipper tab to move freely.
