Lapped Zipper Tutorial
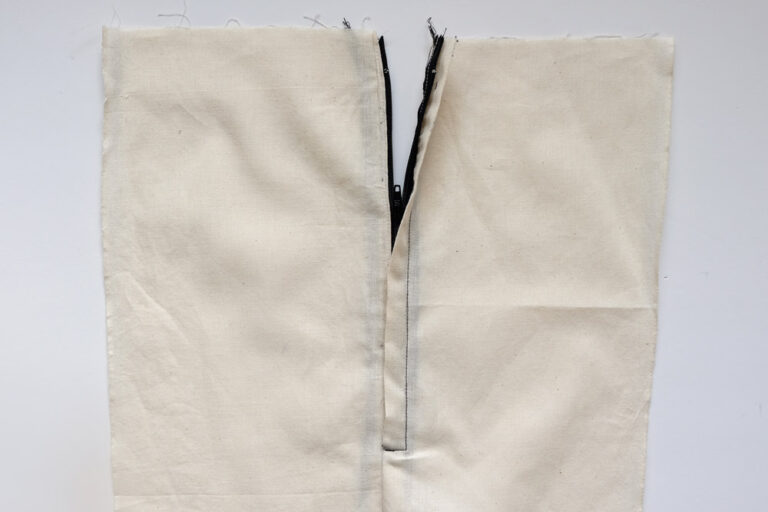
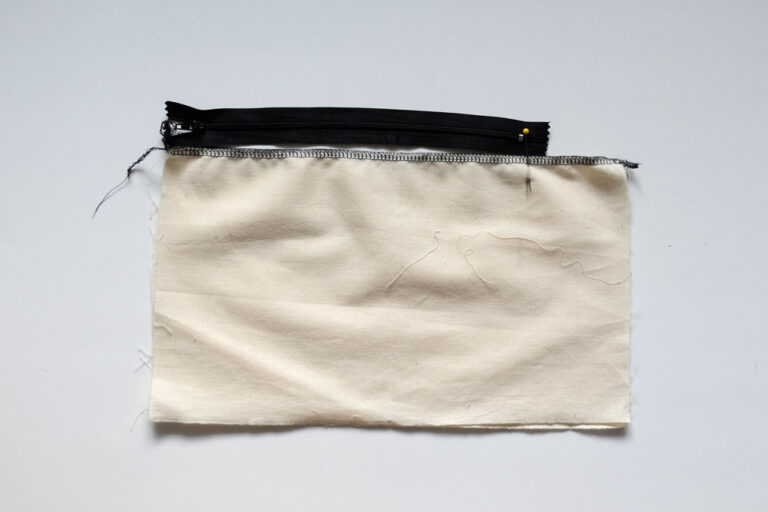
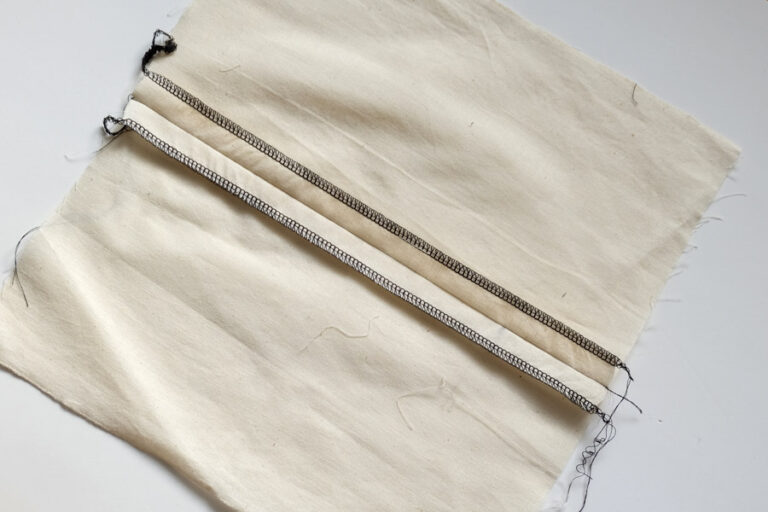
1. Start by serging or zig-zagging the raw edges of the centre edge of each piece individually.
2. Mark the zipper placement by notching or using a chalk.
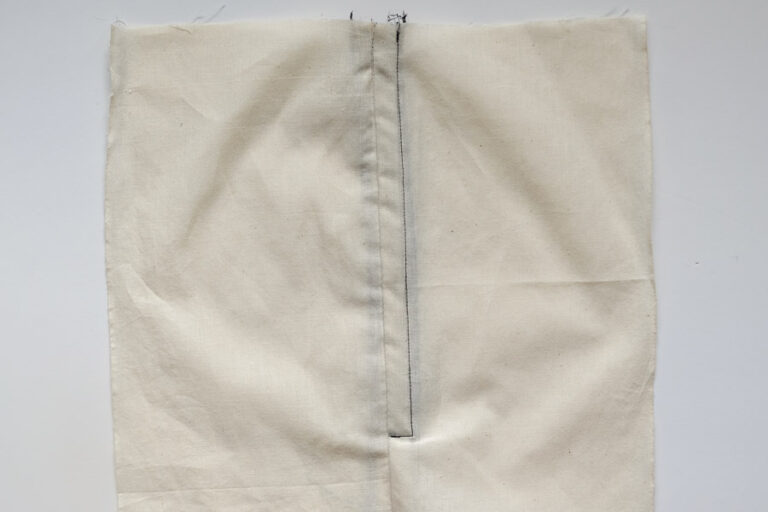
3. Just like the regular zip, this is easiest when you baste the seams together before the zip insertion. From the top edge to your notch, use a basting stitch. Depending on what you are sewing, you can switch back to your regular 2.5mm or 3mm stitch length for the remaining seam. Your seam allowance will vary depending on what you are sewing, for this tutorial I used a 2 centimetre seam allowance. Remember to backstitch at the start and end of your regular stitch. Press the seam open.
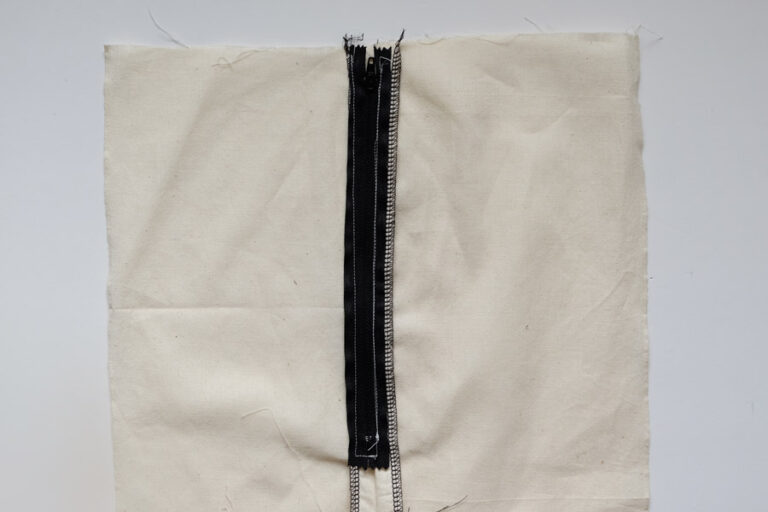
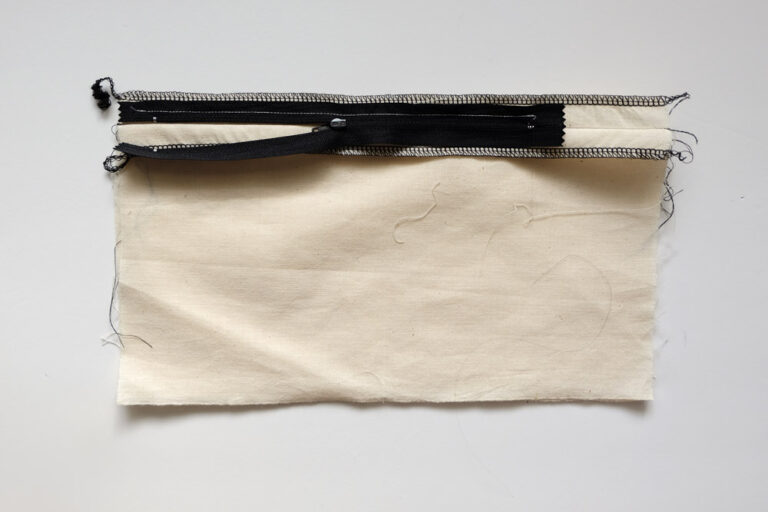
4. There is no right side or wrong side to insert a lapped zipper, so pick a side! Move the fabric to the left side allowing only the right seam allowance to remain on the right as shown above. Take your closed zipper and place it face down against the seam making sure the zipper teeth correspond to the actual seam. Pin the zipper tape to the seam allowance.
5. Starting at the top, machine stitch along the middle of the pinned zipper tape remembering to back-stitch when reaching the bottom (where the notch is). Your end result should be a zipper connected to just the right seam allowance.
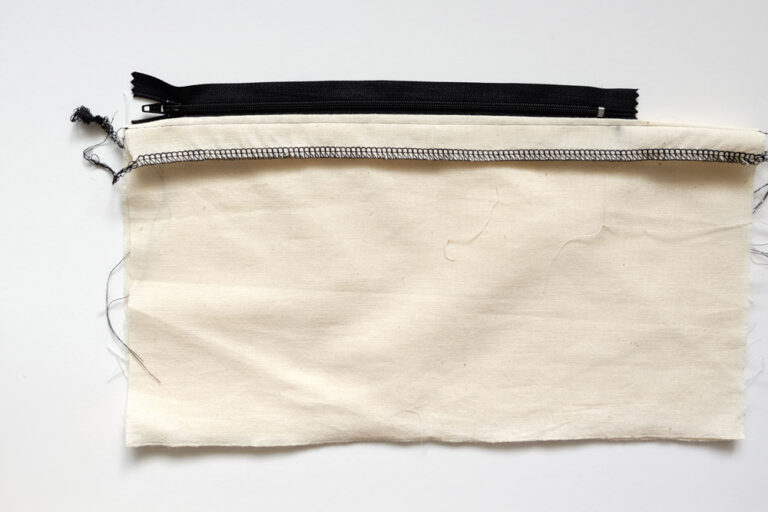
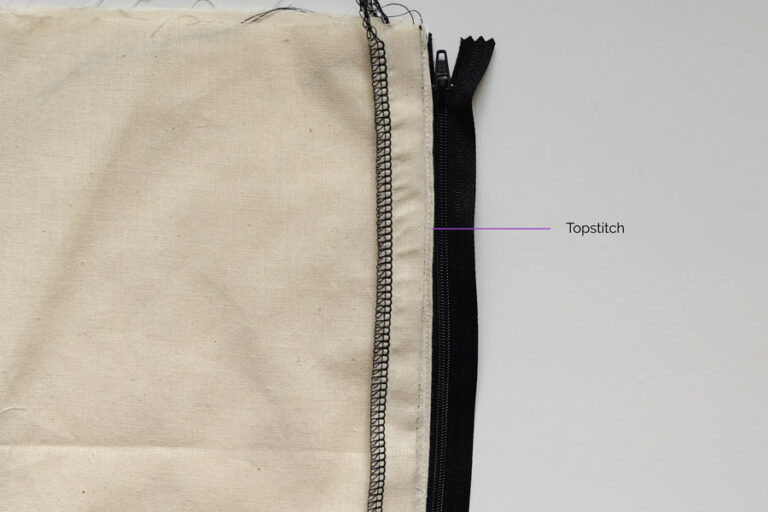
6. Turn the zipper facing up by moving the right seam allowance towards the left, facing the same way as the rest of garment. Pin this fold in place along the zipper tape as shown bellow.
7. Stitch along the edge (edge stitch) from the fold using it as a guide.
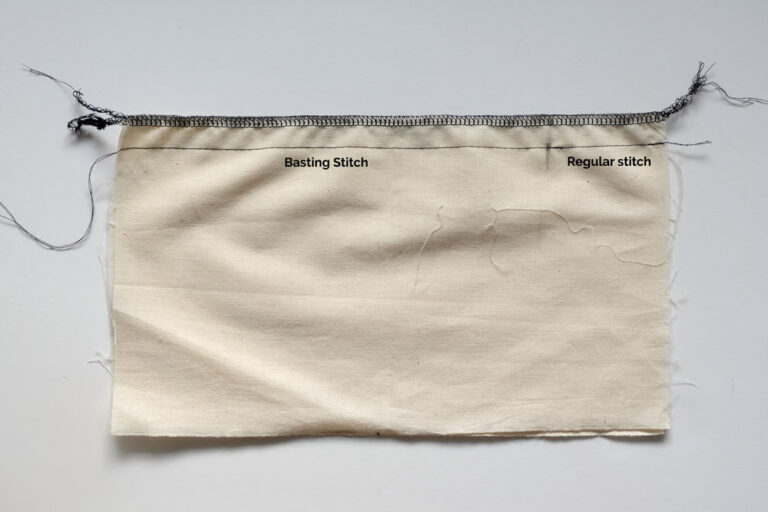
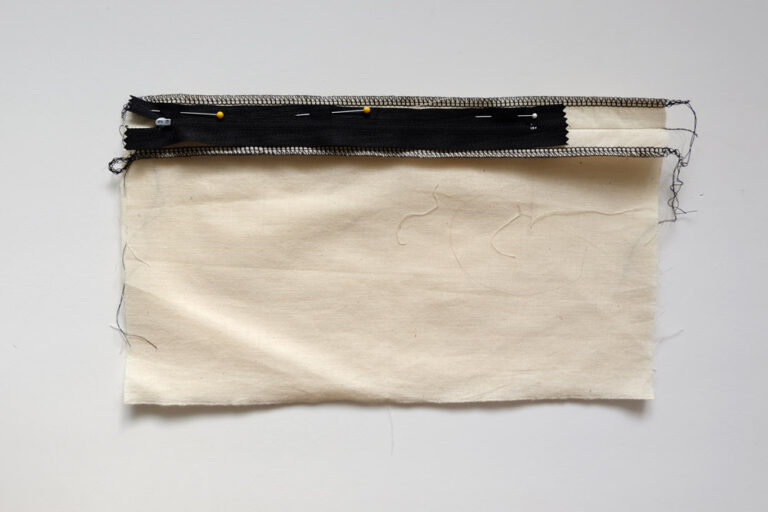
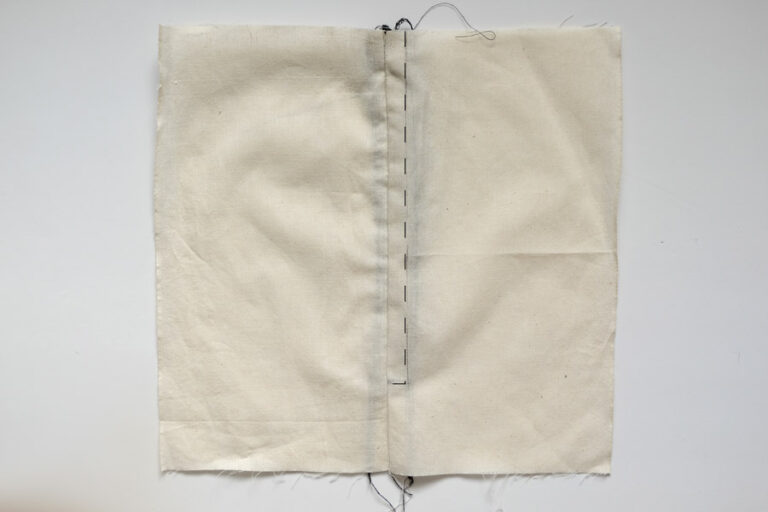
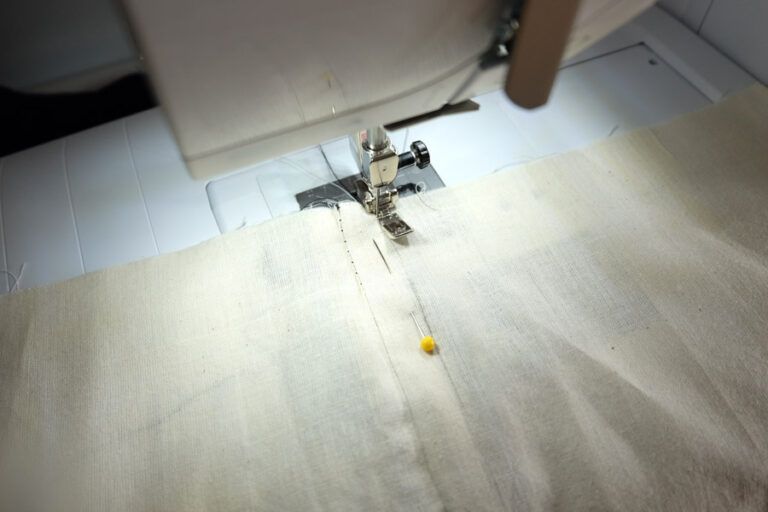
8. Turn your garment with the right side facing you, use the notch on the back and mark with a water soluble pencil or tailor’s chalk where the zipper stops on the good side of the garment. Mark a little above or after the bottom metal stop of the zipper so that you don’t accidentally sew on top of it and break your needle when adding the final top stitch.
9. Option to mark or hand base. Using contrast thread and a hand-sewing needle, hand baste about 1 cm – 1.5 cm away from the seam starting at the bottom up making sure you sew through every layer underneath- This includes the seam allowance and zipper tape.
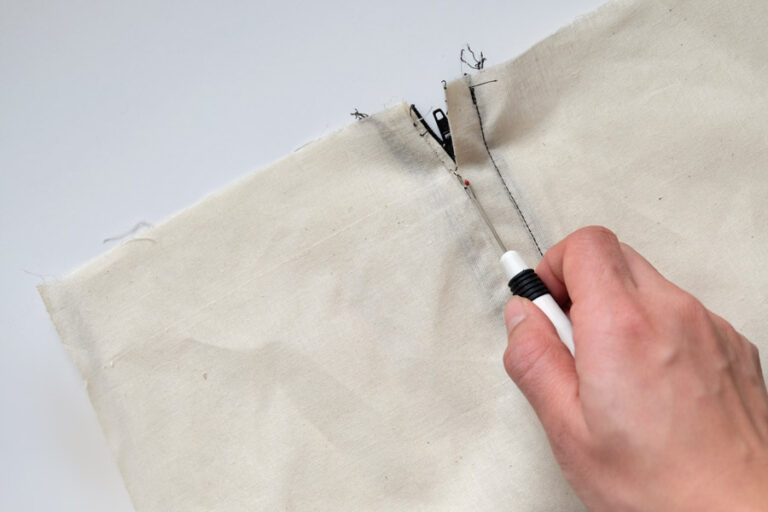
10. Using the basting stitch as a guide, stitch on your sewing machine starting at the bottom horizontally, then at a straight angle up to the top as shown below. Once your final stitch is completed, use a seam ripper to remove the temporary hand basting.
*Make sure you machine-stitch right next to the basting but not directly on top of it as this can make it more difficult to remove.
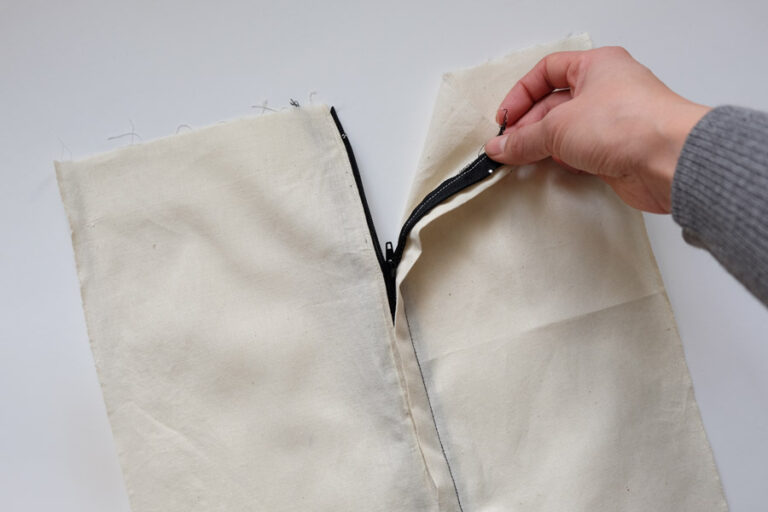
11. Time to see your lapped zipper in action! Because your initial machine basting must be very loose and easy to remove due to the slit stitches we started with, you can gently pull on the seam to open it while also using your seam ripper to remove extra stitches.
As a final step, remove the excess threads to clean up the opening and your lapped zipper is complete! Practice a few times and you’ll be able to consistently apply a lapped zipper in a just a few minutes by using this easy method.
